Know Your Supplies
What You Need to Make a Beaded Necklace
So, you know your tools. Now comes the exciting part: supplies! This is where the creativity kicks in, colours, textures, and tiny details that turn a simple string of beads into something totally “you.
When you’re making a beaded necklace, your supplies are like your paint palette. The colours, textures, and finishes you choose will shape the personality of your piece. Don’t worry, you don’t need to know all the technical terms yet. Think of this post as your beginner-friendly guide to jewellery-making supplies so you can pick what feels right for your first creation.
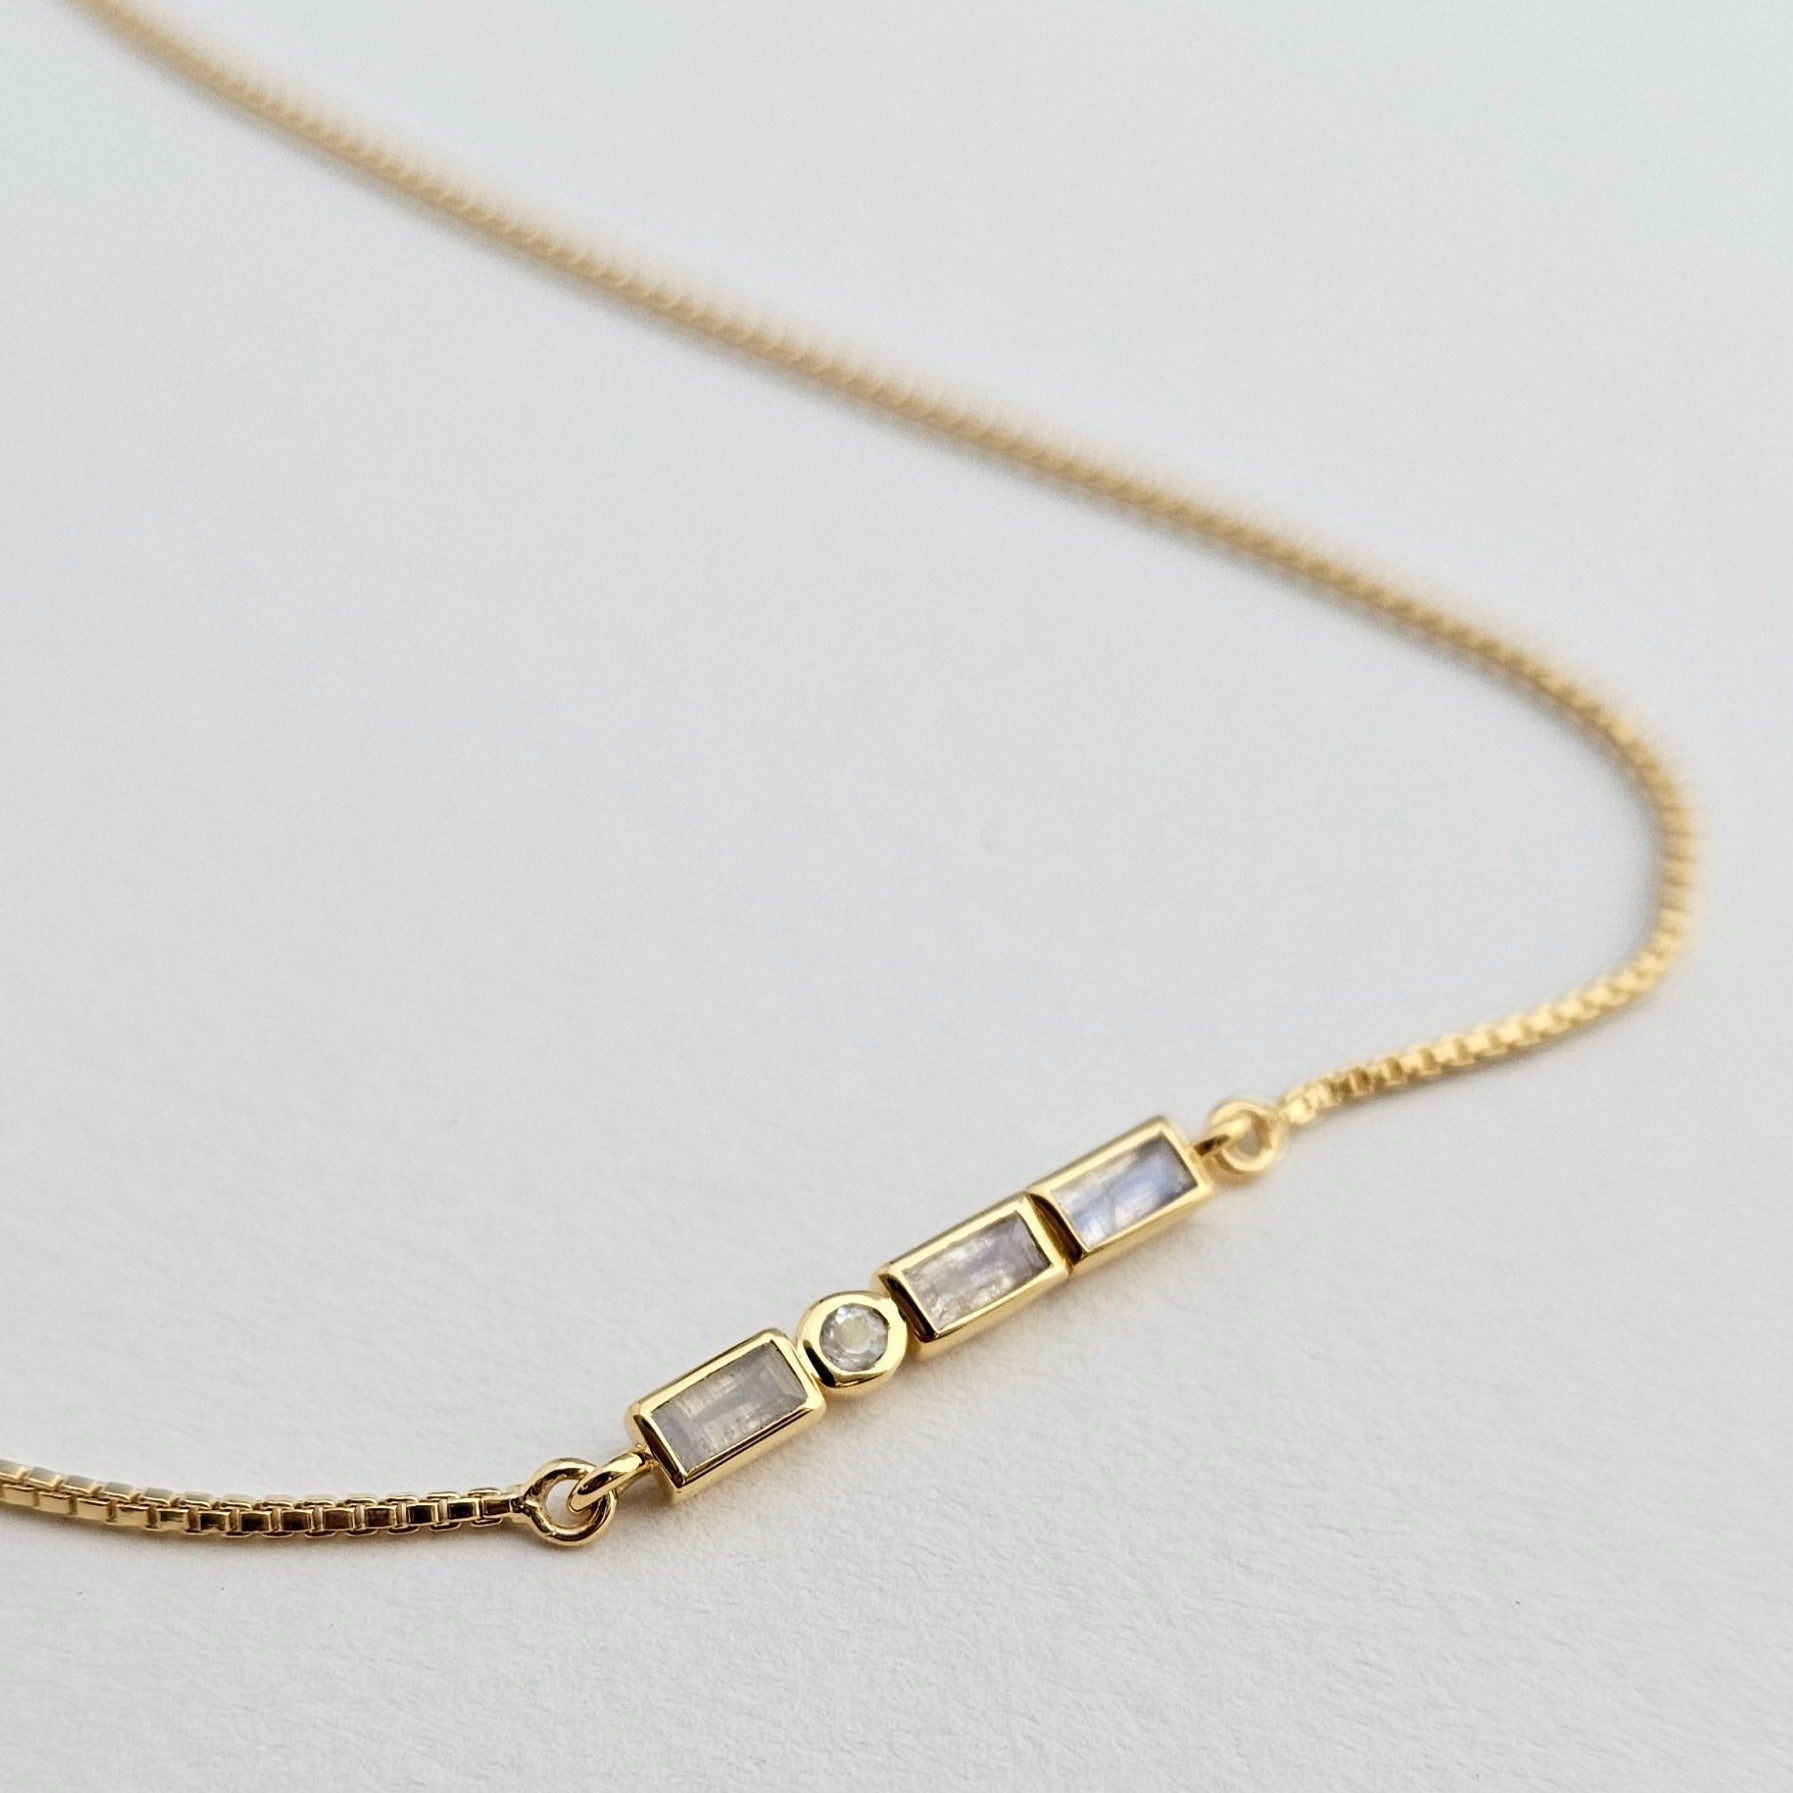
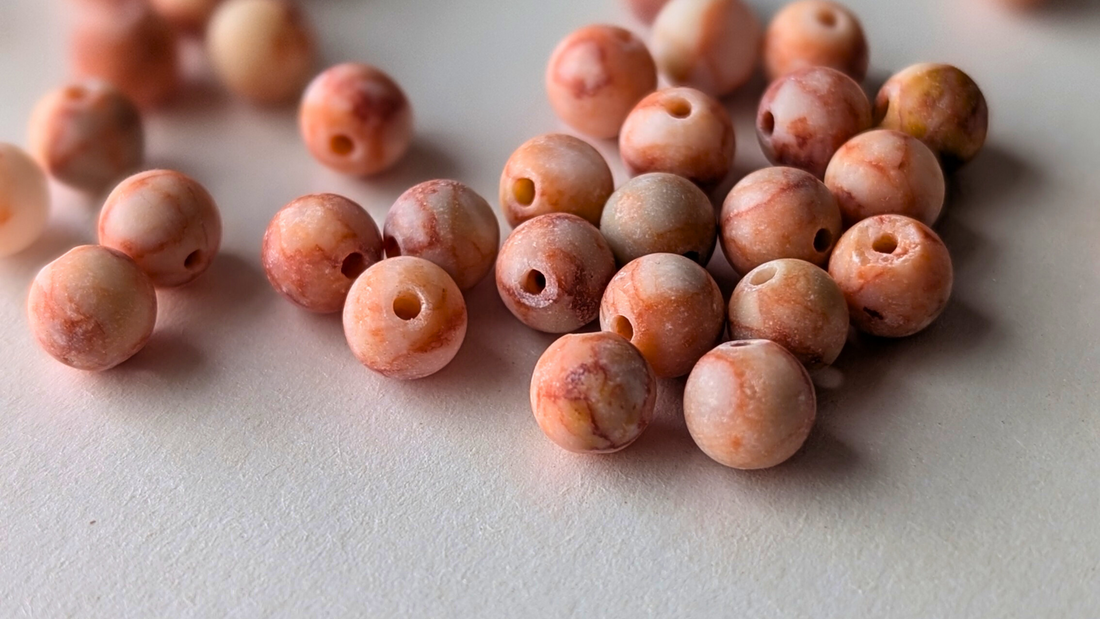
Beads: The Heart of Your Necklace

When people think of jewellery, they think of beads first. And for good reason, beads set the mood.
Here are some common types of beads for jewellery making:
- Glass beads – Affordable, colourful, and versatile. Perfect for beginners.
- Gemstone beads – Add natural beauty and a touch of luxury. Think amethyst, rose quartz, or turquoise.
- Ceramic or clay beads – Handcrafted and full of character. Great for bold statement necklaces.
- Seed beads – Tiny, uniform beads used for detailed designs or spacers.
- Metal beads – Add weight, shine, and contrast.
Tip: Don’t overthink it at first. Pick beads you love and let them inspire your design.
Stringing Materials: Holding It All Together

Your beads need something strong (and pretty invisible) to sit on. The right necklace stringing material depends on your style:
- Nylon thread – Flexible and perfect for knotting between beads.
- Beading wire – Strong and durable, great for everyday necklaces.
- Elastic cord – Usually for bracelets, but can work for casual choker-style necklaces.
- Leather or cotton cord – Adds a natural, boho vibe.
Tip: Match the thickness of your cord or wire to the hole size of your beads. If it slips around too much, it won’t feel secure.
Findings: The Hidden Heroes

You’ll hear the term “findings” a lot in jewellery making. These are the tiny pieces that finish your necklace and make it wearable. Think of them as the supporting cast to your star beads:
- Clasps – Lobster clasp, toggle clasp, or magnetic clasp (great for beginners).
- Jump rings – Little rings that connect your clasp to the cord or chain.
- Crimp beads or crimp tubes – Secure your beading wire and keep everything in place.
- Wire guardians – little U-shaped protectors that keep your wire from fraying at the clasp area.
- Bead tips – perfect for hiding knots on silk cord or thread when you’re not using wire guardians, giving your piece a polished finish.
- Head pins (optional)– straight pins with a ball or flat end; perfect for turning beads into charms, pendants, or dangles that you can add to your necklace design.
Tip: Always buy a few extras; these tiny pieces have a way of disappearing onto the floor!
Charms & Pendants: Your Necklace’s Personality

Charms and pendants are the “statement piece” of your design. They can be:
- A symbol (like a star, moon, or heart)
- A birthstone pendant for a personal touch
- A bold centrepiece bead that anchors your design
Tip: If you’re unsure, start with one central pendant and build your bead design around it.
Quick Beaded Necklace Supply Checklist
Here’s what you’ll need to get started:
- Beads (your choice of style and colour)
- Stringing material (nylon thread, wire, or cord)
- Clasp
- Jump rings
- Crimp beads or tubes
- Wire guardian or Bead tips.
- Head Pins (Optionals)
- Pendant or charm (optional)
Ready to Start Your First Necklace?
Making your necklace is one of the most rewarding handmade jewellery ideas out there. You get to choose the colours, the feel, and the vibe; no mass-produced piece can ever compare.
In the next tutorials, I’ll show you how to put all these supplies together step by step so that you can wear (or gift!) your very first handmade necklace.
With love and beads,
Caro